


Post renovation cleaning should begin once dusty works stop, contractors remove major waste, and surfaces are safe to touch. In most homes, that means cleaning starts immediately after renovation ends, not days later, because dust, paint residue, and debris spread fast and settle deep into vents, tracks, and soft furnishings.
You can see the fresh paint, the new tiles, and the sharper lines of your upgraded space. Then the dust catches the light. It sits on shelves, drifts across the floor, and lingers in the air long after the drilling stops. That is why post renovation cleaning matters.
Athena Team Cleaning provides quality and reliable cleaning services in Singapore for homes and workplaces, including house cleaning service, post renovation support, and other specialist cleaning solutions. If you are wondering when to clean after renovation, this guide breaks it down clearly and practically. Athena’s own renovation-related content highlights issues such as fine dust, paint splatters, debris in hidden areas, and the value of HEPA-based dust removal after works.
Key Takeaways
✅ Post renovation cleaning should start after dusty works fully stop.
✅ The best answer to when to clean after renovation is as soon as the site is ready.
✅ Good renovation dust cleaning tips reduce re-settling and surface damage.
✅ To remove construction dust at home properly, clean top to bottom.
✅ A regular house cleaning service helps keep the space fresh after the deep clean.
Book Athena House Cleaning Service
What is post renovation cleaning?
Definition:📌
Post renovation cleaning is a deep clean done after renovation to remove fine dust, paint residue, debris, and hidden construction mess before normal living resumes.
If you have asked what makes post renovation cleaning different from a regular tidy-up, the answer is depth and sequence. A weekly clean handles fingerprints, crumbs, and light dust. Post renovation cleaning handles powdery residue in air vents, skirting boards, window tracks, cabinet tops, switches, and floor edges. It also deals with paint drips, adhesive marks, grout haze, and the dull film that settles over new finishes after drilling, sanding, and carpentry.
This is why many homeowners start searching when to clean after renovation the moment the contractors leave. The room may look done, but it does not feel done yet. The air can feel dry. The floor can look clean and still feel gritty underfoot. Handles and counters may carry a fine chalky film. These are exactly the moments that show why proper post renovation cleaning matters.
When to clean after renovation for the best result
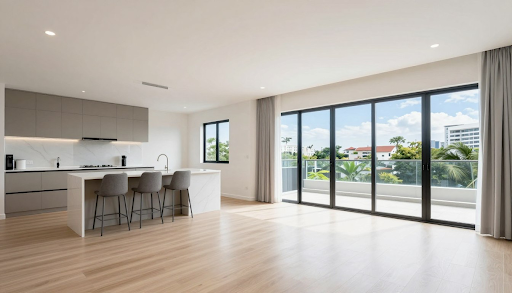
This is the question most people ask first, and rightly so. The best time for post renovation cleaning is after all major dusty works are complete. That includes hacking, drilling, sanding, painting touch-ups, and carpentry adjustments. If workers are still cutting boards or sanding filler, the dust will simply return.
Here is the simple answer to when to clean after renovation:
1. Clean after all dust-making work is finished
Do not book the deep clean while active dust generation is still happening.
2. Clean after contractors remove large debris
Boxes, scrap material, used masking tape, and leftover packaging should go first.
3. Clean before moving furniture and soft furnishings in
This makes it easier to remove construction dust home completely.
4. Clean before children, elderly relatives, or allergy-prone occupants return
Fine dust can irritate eyes, skin, and airways.
Pro Tip:📌 That is why the best answer to when to clean after renovation is usually this: clean immediately after renovation work fully ends and before normal use begins.
Why should you not wait too long?
Leaving dust and debris in place creates more work later. The longer it sits, the more it spreads, settles, and gets stirred back into the air.
Here is what can happen if post renovation cleaning is delayed:
👉 dust gets into fan blades and air vents
👉 debris scratches floors when walked on
👉 paint droplets harden and become harder to remove
👉 residue settles into window tracks and cabinet grooves
👉 soft materials absorb fine particles
Athena’s article on HIP cleaning points out that renovation debris can scratch floors, dull finishes, and reduce appliance efficiency if dust gets into systems such as air-conditioning or ventilation.
So when clients ask when to clean after renovation, the practical answer is not next week or “when things calm down.” It is as soon as the site is ready. Fast action makes post renovation cleaning more effective, and it makes ongoing maintenance simpler too.
What should be cleaned first after renovation?
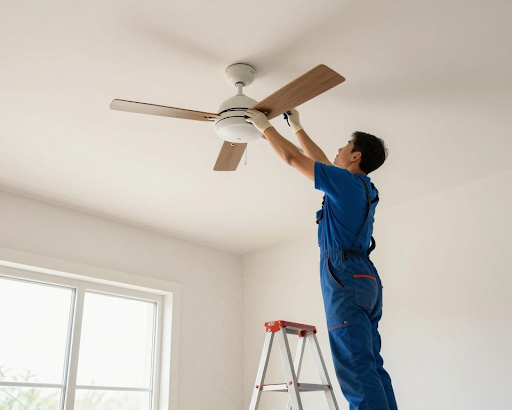
The order of post renovation cleaning matters just as much as the products and equipment you use. Many people make the mistake of mopping first, only to find that fine dust drops back onto the floor once higher surfaces are cleaned. That creates extra work and makes the space feel dusty again even after a full clean. These renovation dust cleaning tips follow a practical top-to-bottom method that helps you remove construction dust home owners often struggle with after renovation works.
Step 1. Start high
Always begin your post renovation cleaning from the highest points in the room. This includes ceiling lines, light fittings, upper shelves, curtain pelmets, cabinet tops, and any exposed ledges near the ceiling. Renovation dust rises and settles everywhere, but it often collects in these upper areas first before drifting down over time. If you skip them at the beginning, you will end up knocking dust onto freshly cleaned surfaces later. Starting high makes the rest of the cleaning process more efficient and gives you better control over where the dust falls.
Step 2. Vacuum dry dust before wiping
Before using any damp cloth or mop, remove as much loose dust as possible with a vacuum. This step is one of the most important renovation dust cleaning tips because dry dust spreads quickly and turns into smears when mixed with moisture too early. Use the vacuum on floors, corners, ledges, skirting boards, and any surface with visible fine particles. A vacuum with strong suction and a proper filter works best for this stage because it lifts dust instead of shifting it around. If your goal is to remove construction dust home spaces properly, dry removal should always come before wet wiping.
Step 3. Clean walls, doors, and frames
Walls, doors, and frames often hold more renovation dust than people expect. Fine powder from sanding, drilling, or painting can cling to flat painted walls, settle along the tops of door frames, and collect around hinges, edges, and handles. These areas may look clean at first glance, but once you run a cloth over them, the dust becomes obvious. During post renovation cleaning, it is important to wipe these sections carefully so dust does not continue spreading around the room later.
Step 4. Wipe surfaces with microfibre cloths
Once loose dust has been vacuumed away, wipe hard surfaces with slightly damp microfibre cloths. This method is more effective than using dry cloths, which often push dust back into the air instead of trapping it. Tables, counters, shelves, switches, sockets, window ledges, and other touchpoints should all be cleaned in a slow and controlled way. In post renovation cleaning, microfibre helps catch smaller dust particles that ordinary cloths may miss.
Step 5. Clean windows, sills, and tracks
Windows, sills, and tracks usually hold a surprising amount of dust after renovation. Even if the glass looks clear, the edges, frames, and channels often trap powder, dirt, and small particles from nearby work. These sections are easy to overlook, but they make a big difference in how clean the room feels once everything else is done. During post renovation cleaning, this step should include wiping the glass, cleaning the frames, and removing the dust packed into the tracks and corners.
Step 6. Tackle kitchens and bathrooms
Kitchens and bathrooms need extra attention because renovation dust sticks more easily to tiles, grout lines, mirrors, fittings, and hard edges in these spaces. Moisture, textured surfaces, and construction residue can make the dust cling more stubbornly than it does in dry rooms. This is why these zones often need more than a quick wipe. In post renovation cleaning, all counters, sinks, taps, cabinet fronts, mirrors, wall tiles, and exposed surfaces should be cleaned with care.
Step 7. Finish with floors
Floors should always be the final stage of the cleaning process. By the time you reach this step, dust from ceilings, shelves, walls, and surfaces should already have been removed or pushed downward. Start with a thorough vacuum to lift the remaining loose particles, especially along floor edges and corners where dust collects. After that, mop the flooring according to its material so the surface is left properly clean without streaks or damage. In post renovation cleaning, ending with floors gives the room a more complete finish and makes all the earlier cleaning steps count.
Pro Tip:📌These renovation dust cleaning tips work because they stop recontamination. If you clean the floor first and then dust the shelves, you waste time. If you skip vents and tracks, the room still feels dusty after the clean.
Renovation dust cleaning tips that actually work
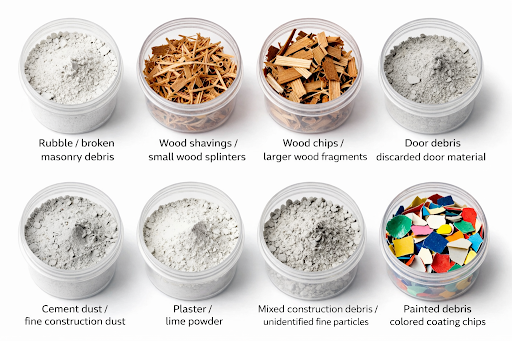
There is a difference between basic advice and useful advice. These renovation dust cleaning tips are the ones that matter most in real homes:
Use HEPA filtration where possible
This helps capture fine particles better than basic vacuums. CDC supports HEPA systems for cleaner indoor air.
Use microfibre, not feather dusters
Good renovation dust cleaning tips focus on trapping dust, not moving it around.
Replace or clean air filters after works
Dust trapped in vents can keep circulating after the clean.
Clean room by room
This gives structure and helps remove construction dust home more thoroughly.
Do a second pass on hidden areas
The best renovation dust cleaning tips always include a return visit to corners, behind doors, and window tracks.
Match the cleaner to the surface
Not all countertops, floors, and trims can handle the same product.
Pro Tip:📌One of the most useful renovation dust cleaning tips is to expect a second wave of dust. Fine particles often resettle after the first round. That is normal. It is also why professional cleaners use a methodical sequence instead of random spot cleaning.
Explore Athena Post Renovation Support
How to remove construction dust home without damaging new finishes
To remove construction dust at home properly, you need patience and the right process. New homes and newly renovated rooms often include delicate paintwork, laminate, quartz, stone, timber veneer, and coated glass. Wrong tools can leave marks even after the dust is gone.
Here is how to remove construction dust home safely:
1. Vacuum first, then wipe
This reduces abrasive rubbing.
2. Use soft cloths and non-abrasive pads
Rough scrubbing can scratch surfaces.
3. Test cleaners in a small area
This is especially important on new cabinetry and countertops.
4. Pay attention to edges
To remove construction dust home well, check skirting boards, hinges, sockets, frames, and shelf undersides.
5. Clean vents and air-conditioning surrounds
This step helps remove construction dust home from the spaces that keep reintroducing particles.
6. Repeat if needed
Fine dust can settle again after the first pass.
Athena’s HIP content notes that dust in air ducts and vents can circulate allergens throughout the home. That fits the real-life experience many owners have after renovation: they clean once, then still see a dusty film the next morning.
Pro Tip:📌To remove construction dust home properly, the entire space needs attention, not just the areas with visible mess. That is what helps a room look clean and feel ready to use.
What are the signs you need professional help?
Not every project needs a full crew. Small cosmetic updates can sometimes be handled in-house. Still, there are clear signs that post renovation cleaning needs professional support.
1. The dust is in several rooms
This means it has travelled further than expected.
2. There are paint drips, grout haze, or adhesive spots
These need more than simple wiping.
3. The floor feels gritty even after mopping
This is a common clue that you have not fully managed post renovation cleaning yet.
4. Someone at home has allergies or asthma
The urgency around when to clean after renovation becomes higher in these homes.
5. You need the property move-in ready quickly
A structured team speeds the process up.
Athena positions itself as a quality and reliable cleaning services provider in Singapore for residential and commercial spaces, with service coverage that includes home cleaning and renovation-related cleaning support. Its content also highlights time savings and the value of professional equipment for deep clean tasks.
This is one reason many clients pair post renovation cleaning with a longer-term house cleaning service after the first deep clean.
DIY versus professional post renovation cleaning
| Task | DIY clean | Professional clean |
| Basic visible dust | Possible | Yes |
| Fine dust in hidden zones | Easy to miss | Better coverage |
| Paint splatters and residue | Harder | More experience |
| Time required | High | Lower for owner |
| Risk to new finishes | Higher | Lower with proper methods |
| Move-in readiness | Slower | Faster |
This does not mean every DIY clean fails. It means post renovation cleaning is more technical than it first appears. Good renovation dust cleaning tips help, but time, equipment, and detail still matter.
If you plan to do some work yourself, useful support links can also help with the wider renovation process. For painting context and prep ideas, you can reference Athena Painting. For hardware and renovation-related supply background, Nam Yong’s company profile gives useful context for homeowners managing upgrades.
A simple room by room cleaning plan
If you still want a quick action guide, use this order:
Living room
- vacuum high and low surfaces
- wipe shelves, ledges, frames, and switches
- clean windows and tracks
- finish with floor cleaning
Bedroom
- clean wardrobes inside and out
- wipe bed frames if already installed
- vacuum corners and skirting
- repeat dusting the next day if needed
Kitchen
- remove dust from cabinet interiors
- wipe counters, backsplash, and hood exterior
- clean sink area and taps
- check under lower cabinets
Bathroom
- remove grout haze and dust film
- wipe mirrors and glass
- clean fittings and tile edges
- mop after all high surfaces are done
This plan works well because it applies the same renovation dust cleaning tips in every room. It also helps remove construction dust home in a way that feels manageable.
Frequently Asked Questions About Post Renovation Cleaning
When to clean after renovation if painters are still coming back?
Wait until the final dusty touch-ups are done. If painters or carpenters are still returning, your post renovation cleaning may need repeating.
Can I mop first to save time?
No. One of the most basic renovation dust cleaning tips is to vacuum and dry-remove dust first.
How long does post renovation cleaning take?
It depends on the unit size, amount of residue, and how much dust has spread. Full-home post renovation cleaning often takes longer than owners expect.
What is the best way to remove construction dust home from vents?
Vacuum surrounding areas carefully, wipe accessible surfaces, and check filters. To remove construction dust home fully, air-related areas cannot be ignored.
Is one round enough?
Sometimes yes, sometimes no. Fine dust can resettle, so some homes need a second pass after the first post renovation cleaning.
Bring Your Home Back to Life
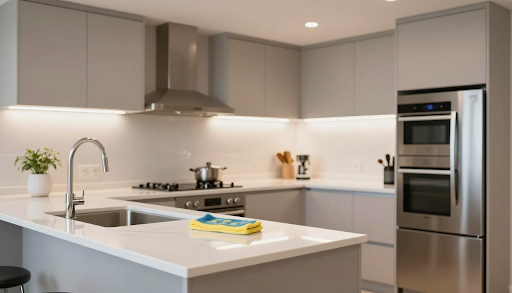
So, how soon should you clean after renovation?
Right after the dust settles—and before it settles in for good.
Waiting too long allows fine dust and debris to spread deeper into your space, undoing the impact of your renovation. A thorough, timely clean is what protects your new finishes and makes your home truly livable again.
If you want it done quickly, properly, and without the hassle, professional post-renovation cleaning ensures every surface is cleared and every room is ready to use.
Step back into a home that finally feels complete.
Enquire With Athena Team Cleaning | Book Your House Cleaning Today
Related Resources:
- Odour Treatment Program
- The Importance of Mattress Cleaning
- Deep Clean Your Soft Furnishings
- How Regular Curtain Cleaning Helps Maintain Clean Air
- Why Regular Sofa Cleaning Is Important for Singaporean Homes
🏠 Explore Our Cleaning Services:
- House Cleaning Services →
- Deep Cleaning Services →
- Post Renovation Cleaning →
- Move-Out Cleaning →
- Sanitisation Services →
- Carpet Cleaning →
- Upholstery Cleaning →
- Mattress Cleaning →
- Office Cleaning Services →
💎 Learn More About Athena Team Cleaning:
- 👷 About Athena Team Cleaning Services →
- 🛠️ Our Cleaning Solutions →
- 🏗️ Before & After Gallery →
- 🗣️ Client Testimonials →
- 📝 Cleaning Tips Blog →
📞 Call us at: +65 9247 1009
📧 Email us at: athenateamcleaning@gmail.com
🌐 Visit our website: www.athenacleaningservices.sg
📍 Address: 2 Venture Drive, #14-02, Vision Exchange, Singapore 608526
When to Clean After Renovation: Getting the Timing Right
Knowing exactly when to clean after renovation makes a real difference to your final result. Schedule too early and fresh paint, grout or silicone sealant can smear; leave it too long and fine renovation dust settles deep into aircon coils, curtain rails and HDB ledges. In Singapore's humid climate, that dust binds with moisture and becomes far harder to remove, so timing is everything for a smooth handover.
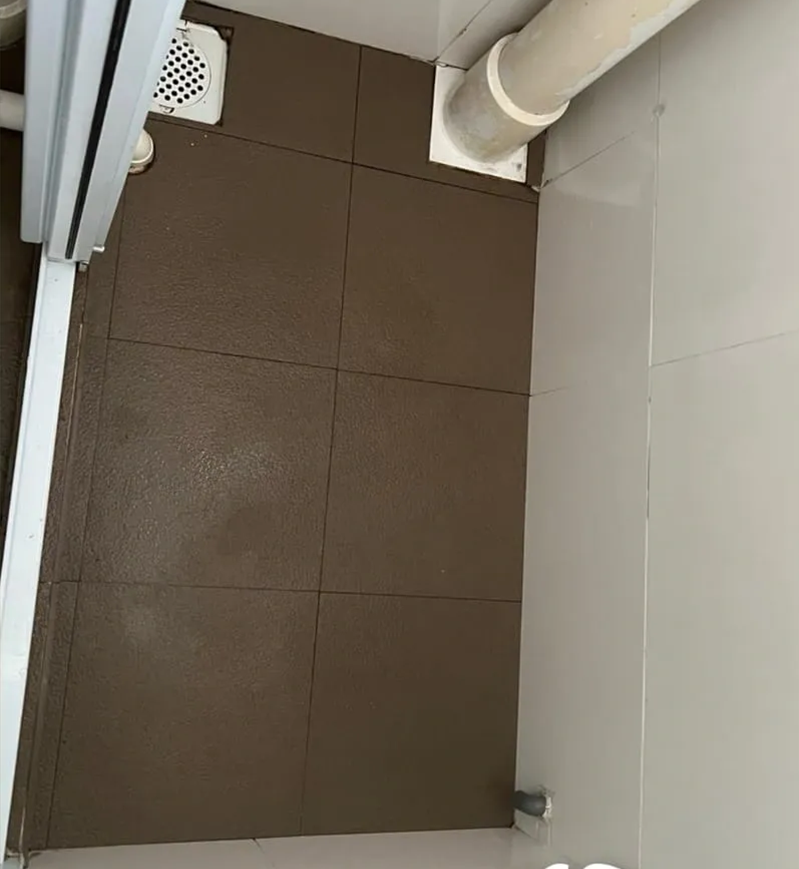
As a rule of thumb, the best moment to clean after renovation is once all wet works, painting and carpentry are fully completed and contractors have removed their tools and debris. Allow paint and sealant to cure for at least 48 to 72 hours first. For a typical 4-room HDB flat or mid-sized condo, booking your deep clean two to three days after the final contractor handover hits the sweet spot.
Clean After Renovation Before Moving Furniture In
Always clean after renovation before your furniture, mattresses and appliances arrive. Cleaners need clear floor and wall access to reach skirting, window tracks and built-in carpentry. Once a wardrobe or sofa is in place, trapped dust behind it is almost impossible to remove without dismantling, so an empty unit gives the most thorough, lasting result.
Coordinating With Your Contractor's Schedule
Ask your interior designer or contractor for a confirmed completion date, then add a two to three day buffer for curing and snagging. Touch-up painting and minor defect rectification often happen after the main works, so confirm these are done first. Cleaning before defects are fixed usually means redoing parts of the job, wasting both time and money.
- Wait 48 to 72 hours after final painting and silicone sealing for proper curing
- Confirm all carpentry, tiling and electrical works are 100 percent complete
- Book cleaning before furniture, curtains and appliances are delivered
- Schedule during daylight hours so cleaners can spot fine dust and paint streaks
The Step-by-Step Process to Clean After Renovation
A professional team will clean after renovation using a top-to-bottom method so dislodged dust always falls onto surfaces still to be cleaned. They start with ceilings, lights and aircon trunking, then move to walls, windows, built-in carpentry, and finally floors. This sequence prevents recontamination and ensures the unit is genuinely move-in ready rather than just superficially tidy.

Renovation dust is unusually fine and contains cement, sawdust and paint particles, so vacuuming with HEPA filtration comes before any wet wiping. Specialised tools tackle paint splatter on tiles, cement haze on flooring, and adhesive residue on glass. In Singapore's tropical humidity, cleaners also check for early mould spots in damp corners and behind newly installed cabinetry before sealing everything up.
Dust Removal and Surface Detailing
Every horizontal and vertical surface is vacuumed and microfibre-wiped, including window grilles, door frames, switch plates and skirting. Cement haze on porcelain or homogeneous tiles is removed with the correct pH cleaner so the finish is not dulled. This detailing stage is what separates a real post-reno clean from an ordinary housekeeping session.
Floors, Glass and Final Polish
Floors are scrubbed and mopped to lift grout film and footprints, while windows and mirrors are de-streaked for a clear finish. Glass panels, balcony doors and sliding tracks get particular attention, as renovation grit jams runners over time. A final walkthrough checks for missed paint flecks before the unit is handed back to you spotless.
- HEPA vacuuming of all surfaces, vents and aircon fascias to capture fine particles
- Removal of paint splatter, cement haze and adhesive residue from tiles and glass
- Degreasing of kitchen cabinets, countertops and newly fitted hood and hob
- Sanitising of bathrooms, including grout lines, fittings and floor traps
Cost of Cleaning Services After Renovation Singapore
Pricing to clean after renovation in Singapore depends on unit size, condition and the volume of debris left behind. As a guide, a 3-room HDB flat typically ranges from S$250 to S$400, a 4 to 5-room flat from S$350 to S$550, and a condo or landed home from S$450 upwards. Heavily soiled units or those with extensive cement haze may attract a surcharge.
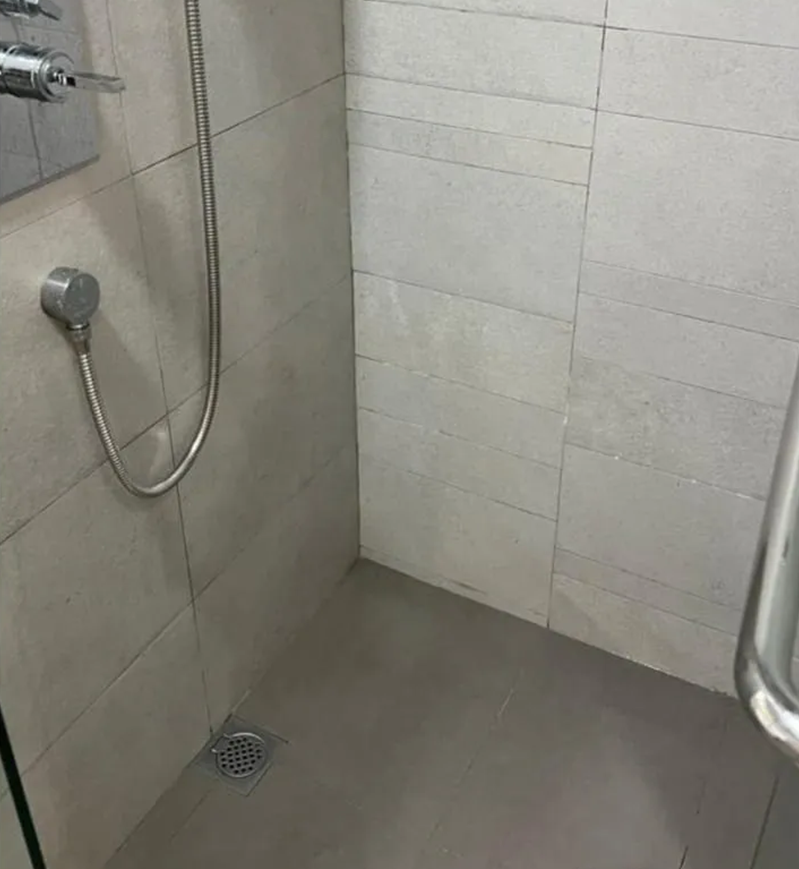
When comparing cleaning services after renovation Singapore providers, look beyond the headline rate. Confirm whether materials, equipment, height work and aircon fascia cleaning are included, and whether the quote is per session or hourly. A transparent fixed quote based on a site assessment usually protects you from surprise top-ups on the day, and lets you budget your move-in costs accurately.
What Affects the Final Quote
Square footage, number of bathrooms, ceiling height and the amount of leftover debris all move the price. Add-ons such as full window external cleaning, mattress vacuuming or aircon servicing are usually charged separately. Sharing photos or arranging a quick viewing helps providers give an accurate clean after renovation quote with no hidden fees.
Why a Professional Clean Pays Off
Doing it yourself can take a full weekend and still miss embedded dust that triggers coughing and aircon faults. A trained crew with industrial vacuums and the right chemicals finishes a typical flat in four to six hours. For most Singapore homeowners, the time saved and the move-in-ready finish easily justify the cost.
- 3-room HDB: approximately S$250 to S$400 per session
- 4 to 5-room HDB: approximately S$350 to S$550 per session
- Condo and landed homes: from S$450 depending on size and condition
- Optional add-ons: external windows, aircon servicing and upholstery from S$60
Local Tips for a Lasting Post-Reno Finish
Once you clean after renovation, a little upkeep keeps your new home pristine in Singapore's dusty, humid conditions. Run the aircon on dry mode for the first few weeks to manage moisture, and wipe down newly painted walls only with a barely damp cloth to avoid marks. Keep windows shut on hazy or rainy days so outdoor grime does not undo the deep clean.
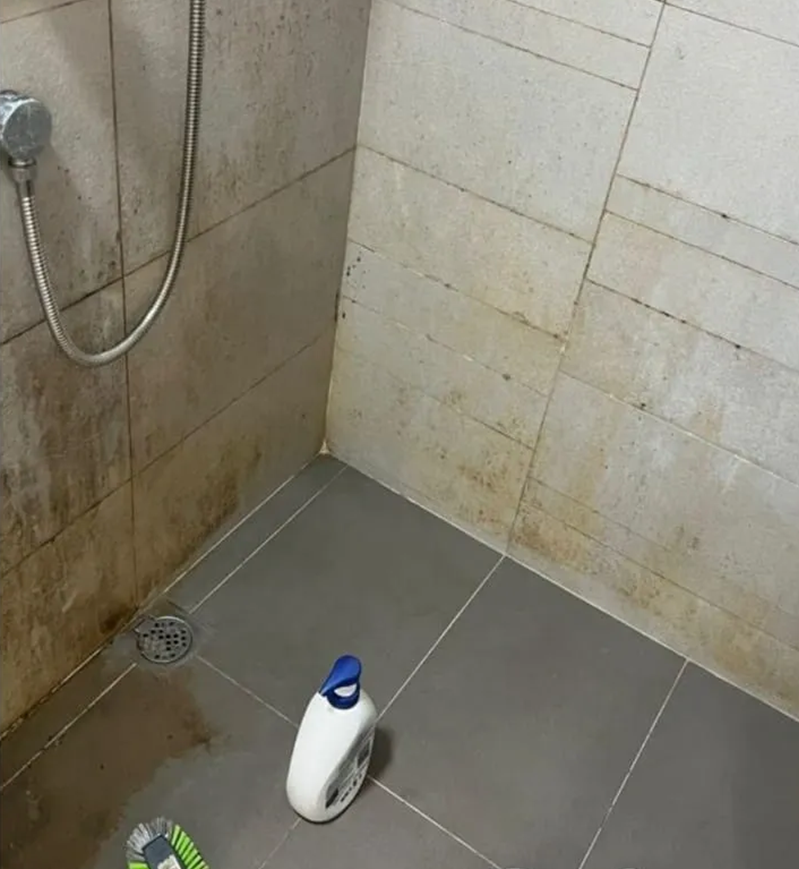
If your block or condo still has ongoing renovation works on neighbouring units, expect some residual dust drift for a few weeks. A light maintenance clean a month after move-in catches anything that settles later, and is a budget-friendly way to protect your investment. Athena can schedule both your initial post-reno deep clean and a follow-up visit in one booking.
Protecting New Surfaces and Fittings
Use felt pads under furniture before placing it on fresh flooring, and avoid harsh abrasives on quartz countertops or matte laminates. For new grout, hold off on heavy scrubbing for the first week so it can fully cure. Gentle, consistent care keeps your renovated finishes looking new far longer.
Booking Athena Cleaning Services
Athena Cleaning Services is based at 2 Venture Drive, Vision Exchange, Singapore 608526, and serves HDB flats, condos and landed homes islandwide. Our team brings its own equipment and eco-friendly supplies, and works around your contractor handover date. Call or WhatsApp +65 9247 1009 for a tailored quote to clean after renovation.
- Run aircon dry mode early to control tropical humidity and dust binding
- Place felt pads and rugs to shield new flooring from scratches
- Schedule a follow-up clean one month after move-in for lingering dust
- Keep windows closed on hazy days to preserve the deep-clean finish
Frequently Asked Questions
How soon after renovation should I clean my HDB flat?
Clean after renovation once all wet works, painting and carpentry are finished and contractors have cleared their debris. Allow paint and silicone to cure for 48 to 72 hours first. For most HDB flats, booking two to three days after the final handover gives the best, longest-lasting result before you move furniture in.
How much do cleaning services after renovation in Singapore cost?
Cleaning services after renovation Singapore prices usually range from S$250 to S$400 for a 3-room HDB flat, S$350 to S$550 for a 4 to 5-room flat, and from S$450 for condos or landed homes. The final figure depends on unit size, condition and how much debris contractors leave behind.
Can I just clean after renovation myself instead of hiring a team?
You can, but renovation dust is extremely fine and embeds into vents, tracks and aircon coils, often triggering coughing and appliance faults. A DIY clean can take a whole weekend and still miss hidden grime. Professionals use HEPA vacuums and proper chemicals to finish a flat thoroughly in four to six hours.
Should I clean after renovation before or after moving furniture in?
Always before. Empty rooms let cleaners reach skirting, window tracks, wall corners and built-in carpentry properly. Once wardrobes, sofas and appliances are positioned, dust trapped behind them is nearly impossible to remove without dismantling. A clean before delivery day gives the most thorough and durable finish.
How long does a post-renovation clean take?
A typical 4-room HDB flat or mid-sized condo takes around four to six hours for a full crew. Larger units, landed homes, or flats with heavy cement haze and paint splatter can take a full day. Sharing photos beforehand helps us schedule the right team size and time slot for you.
Does the clean after renovation include aircon and window cleaning?
A standard post-reno clean covers aircon fascia wiping, internal windows, tracks and grilles. Full aircon chemical servicing and external high-rise window cleaning are usually add-ons, priced separately from around S$60. Let us know your needs upfront so your quote reflects exactly what is included with no surprises.